Classifications
Review your levels
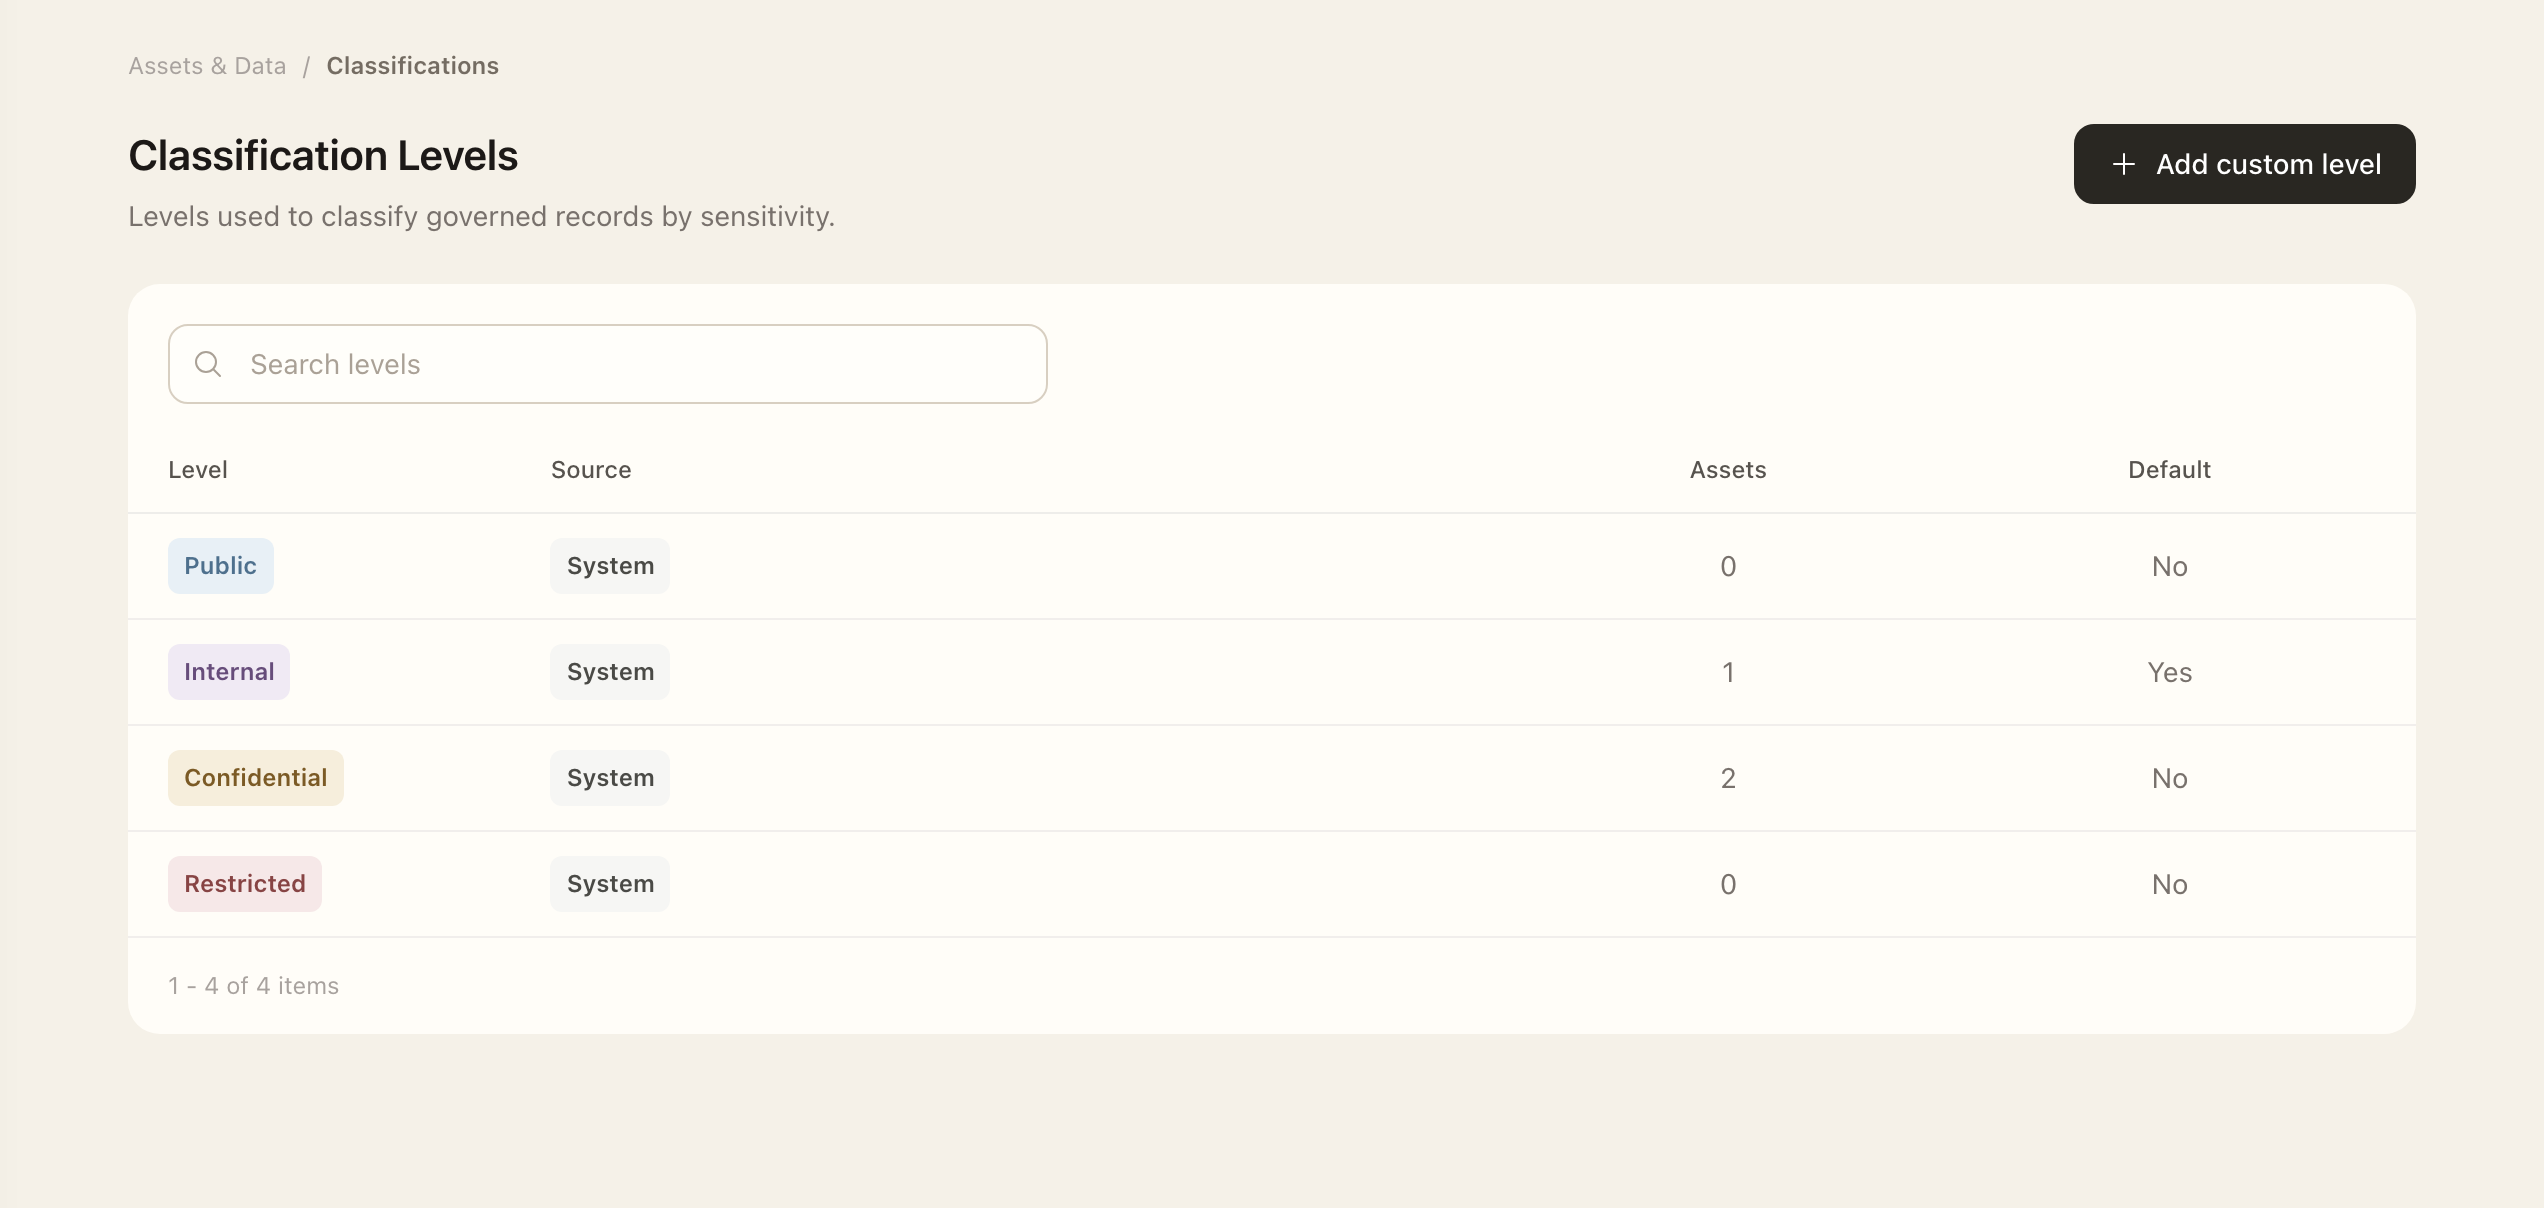
- Open Assets & Data → Classifications.
- Select a level and inspect its linked assets, resources, documents, and third parties.
- If authorized, use the level’s edit action to update its name, color, priority, or default designation, then save.
- Reopen the level and its related records to check the saved settings and resulting classifications.
Authorized administrators can edit a level's name, color, priority, and default designation, or add a custom level. The four system levels are stable anchors that can be customized but cannot be deleted.
Apply levels consistently
Map data types to the appropriate classification. Linked data types and resources can determine the classification of an asset, resource, or third party. If a record's sensitivity looks wrong, inspect those relationships before changing unrelated metadata.
Changing a data type's classification or a level's priority can recalculate classifications on related records. Review the affected relationships after saving so the result matches your organization's intended sensitivity model.
Remove a custom level
A custom level must be detached from linked assets, data types, documents, resources, and third parties before deletion. Use the level's related pages to find remaining links. Keep a level in place while it is still needed to explain active records.
Classification describes the documented sensitivity of information. It does not establish that the system's controls are effective.
Expected outcome
The saved level settings appear in the classification registry. Changes to priority or data-type mappings recalculate the related records’ classification. System levels remain available and cannot be deleted.