
WordPress
The WordPress connector supports Identity & Access collection through the WordPress REST API.
Required values
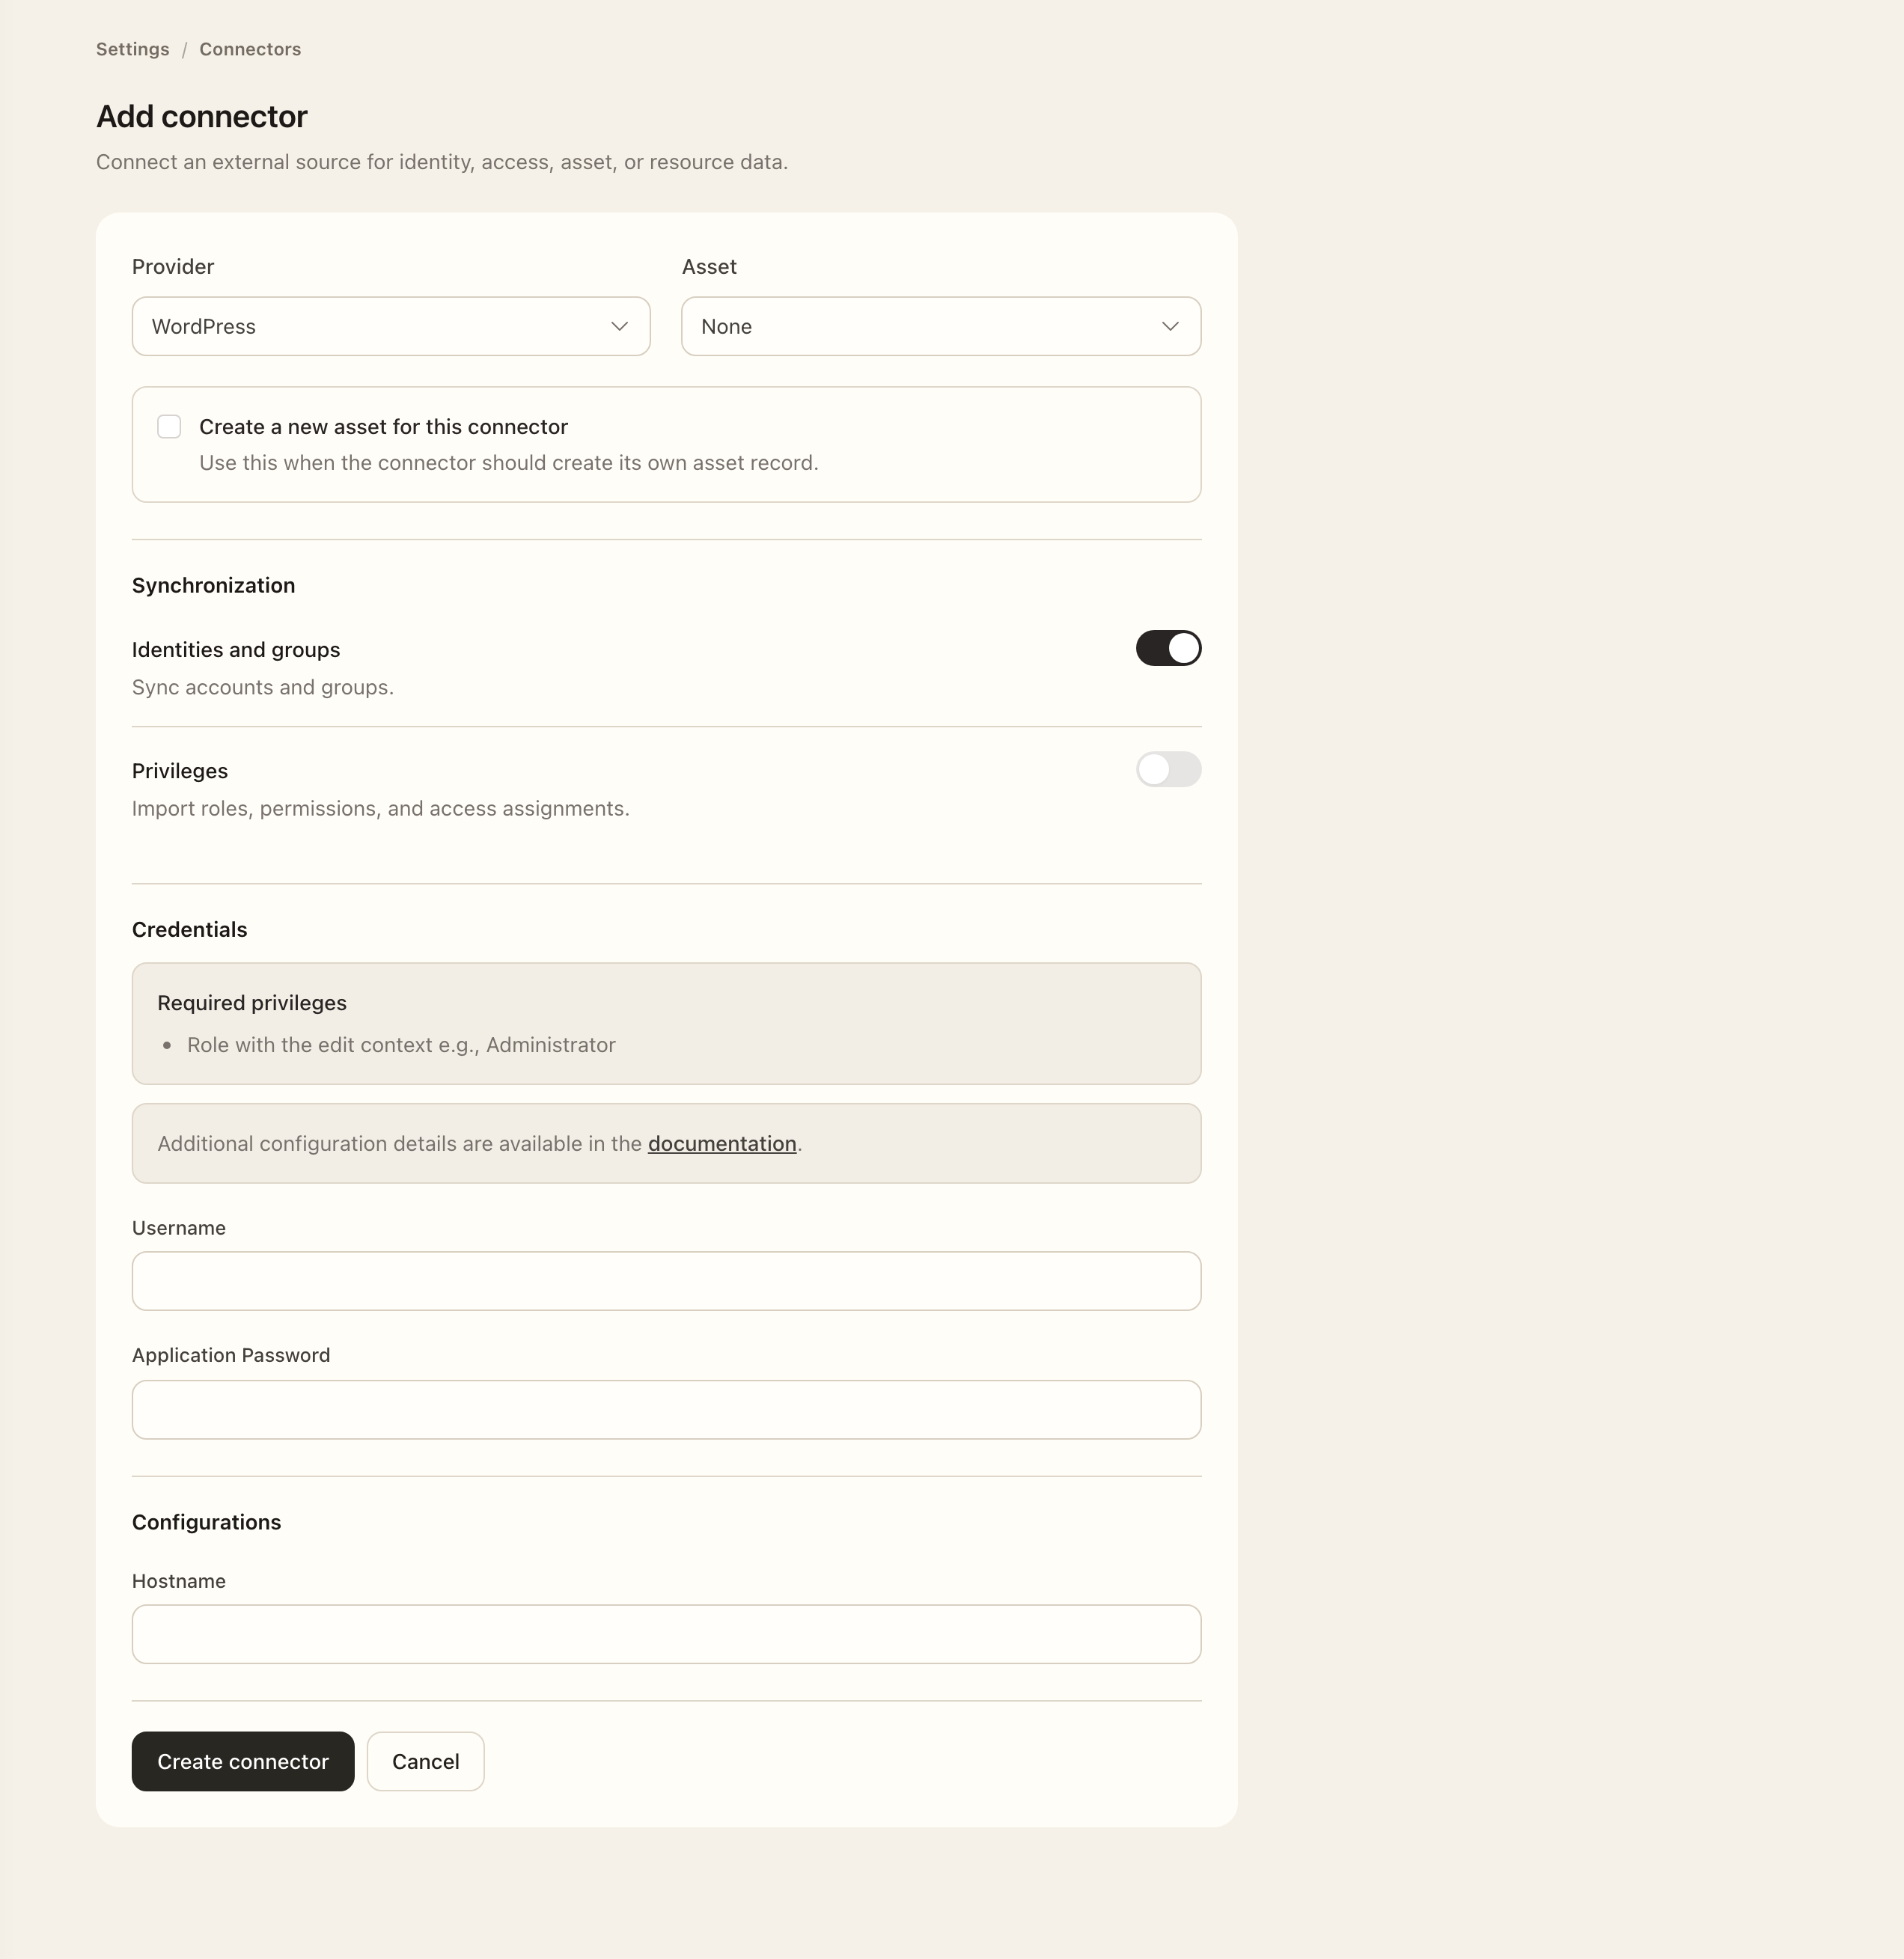
- Username for the connector account
- Application Password created for that account
- Hostname for the WordPress site
Required access
Use a role that can access REST API records in the edit context, such as Administrator. The exact role can vary when
a site customizes WordPress capabilities.
Create a dedicated application password, use an HTTPS hostname, and revoke the password when the connector is removed.
Before you start
Create the credentials listed above in the provider’s administration tools.
Configure in Superviso
- Open Settings → Connectors and choose Add connector.
- Select WordPress from Provider.
- Associate the intended asset, or use the new-asset option when appropriate. Enable only the supported synchronization options you need.
- Enter Username, Application Password, and Hostname for the intended site.
- Recheck the required privileges, scope, and filters, then choose Create connector. Resolve any validation errors shown by the form.
- Open the saved connector, choose Sync connector when available, and confirm the synchronization scope.
- Open Logs, wait for execution to finish, and inspect the result and any errors. Open the relevant Identities, Privileges, or Resources page for the enabled integration to verify collected records.
Expected outcome
The connector is saved for WordPress with the intended integration and collection scope. Synchronization logs show progress, results, and imported records.
If setup or synchronization fails
Check the exact account or organization identifier, required form values, credential validity, granted access, and selected filters. Inspect the failed log’s details before retrying. If only some records are missing, check their scope and provider permissions. For synchronization status and source-managed fields, see Connectors and synchronization logs.